App - Blog
Live Demo: blog.web-app.io
You can run this Gist Desktop App via URL Scheme from (Windows Desktop App):
Or via command-line:
$ app open blog
Cross platform (Default Browser):
$ x open blog
To maximize approachability the /Blog Web App has no C# source code, plugins and uses no JavaScript or CSS frameworks yielding an enjoyable development experiences as all the usual complexities of developing a C# Server and modern JS App has been dispensed and you can just focus on the App you want to create, using a plain-text editor on the left, a live updating browser on the right and nothing else to interrupt your flow.
Any infrastructure dependencies have also been avoided by using SQLite by default which is automatically created an populated on first run if no database exists, or if preferred can be changed to use any other popular RDBMS using just config.
Multi User Blogging Platform
Any number of users can Sign In via Twitter and publish content under their Twitter Username where only they'll be able to modify their own Content. Setting up Twitter is as easy as it can be which just requires modifying the Twitter Auth Config in app.settings with the URL where the blog is hosted and the OAuth Keys for the Twitter OAuth App created at apps.twitter.com.
Rich Content
Whilst most blogging platforms just edit static text, each Post content has access to full Templates language features so they can be used to create
Live Documents or
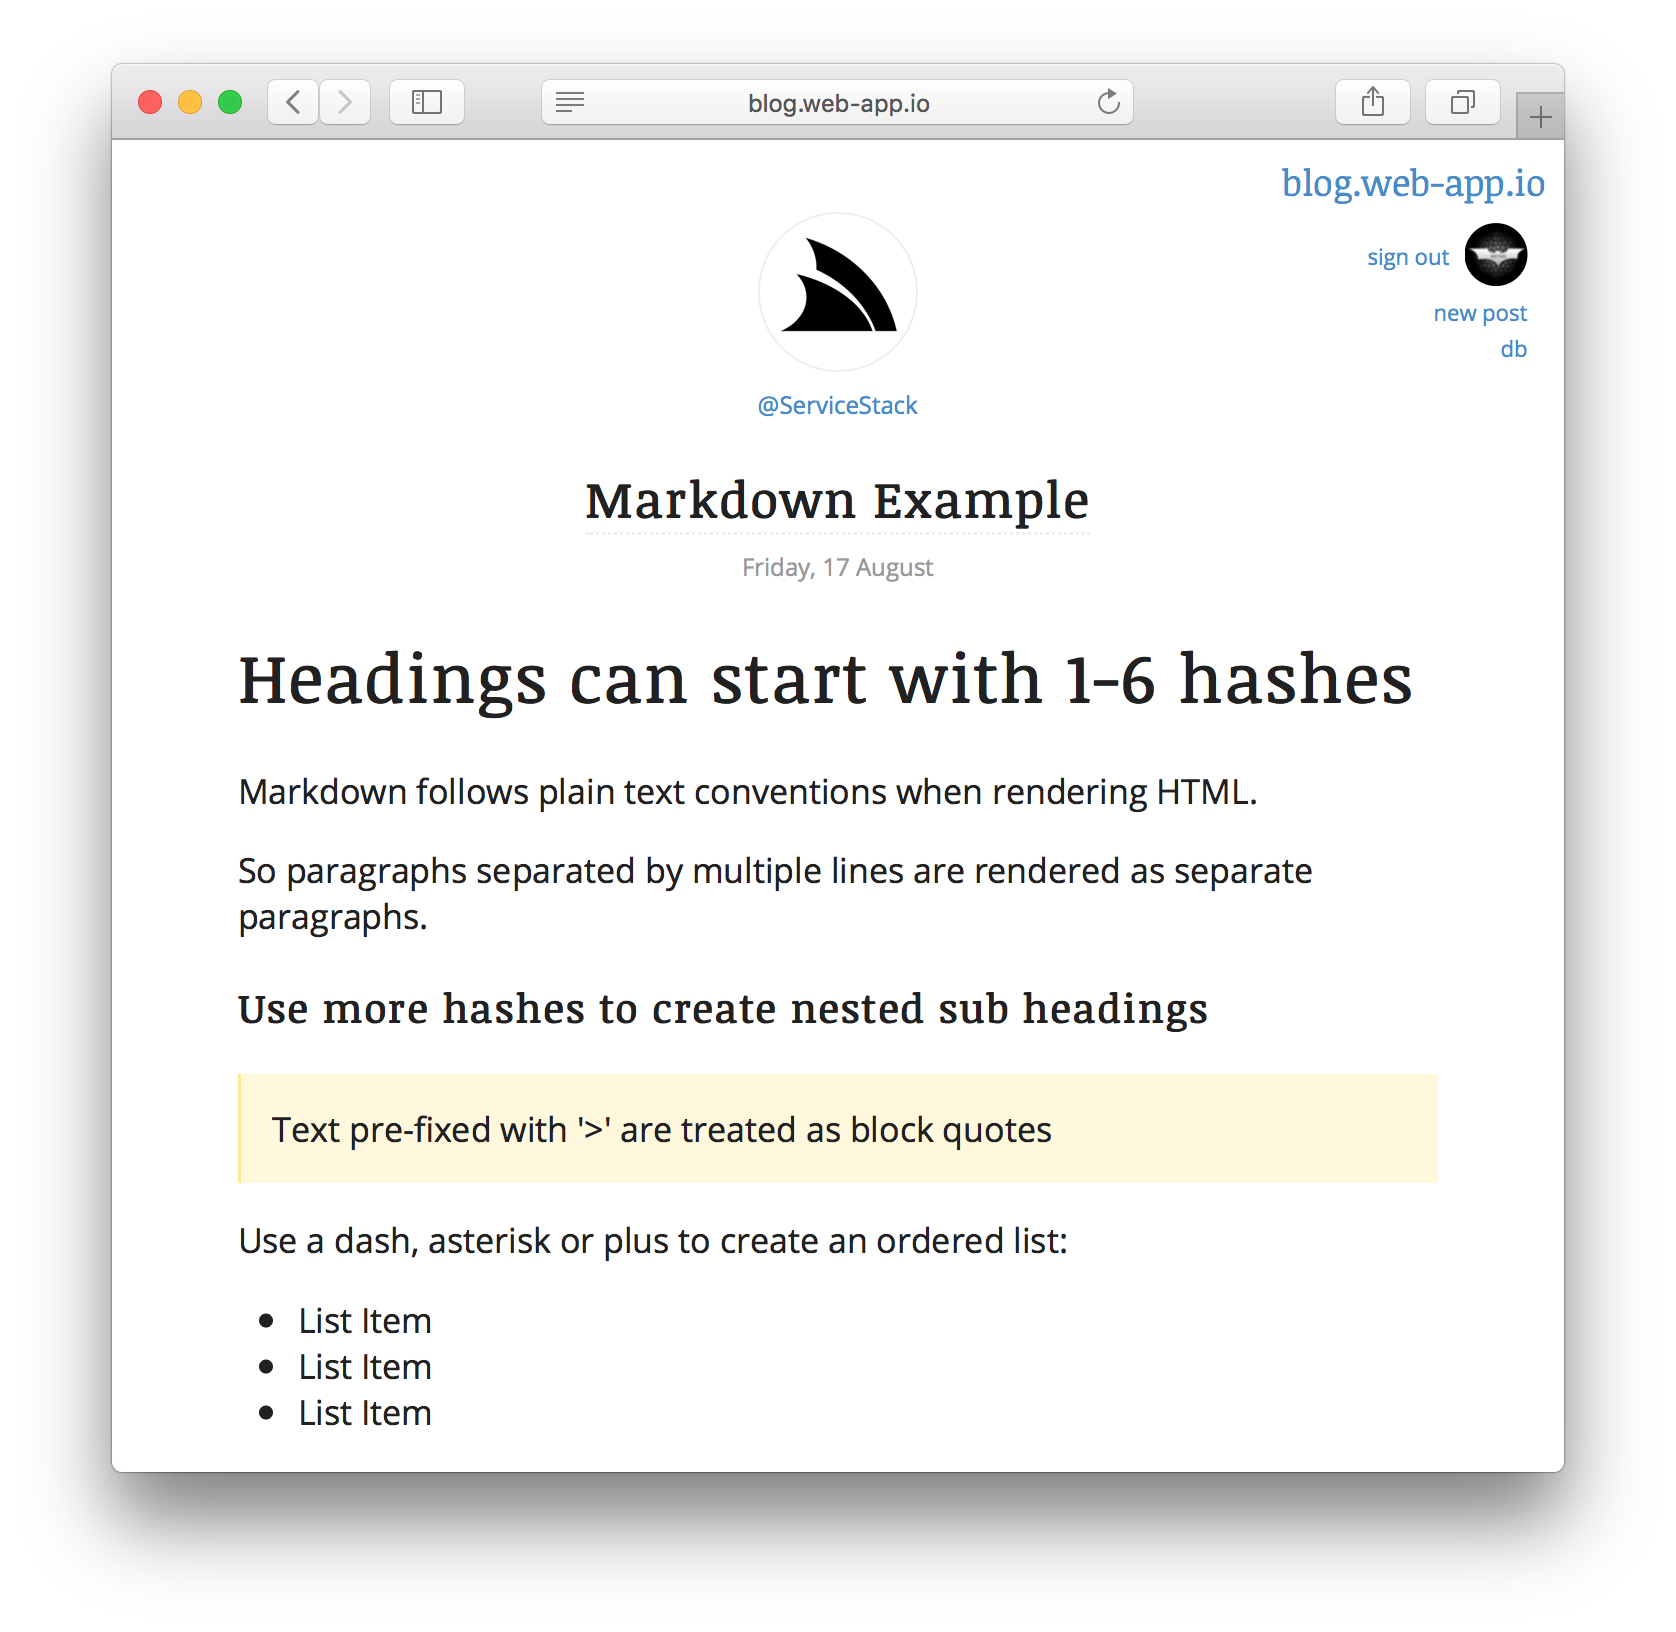
Render Markdown which is itself just
one of the available blocks where it will render to HTML any content between the markdown blocks:
By default the Markdig implementation is used to render Markdown but can also be configured to use an alternate Markdown provider.
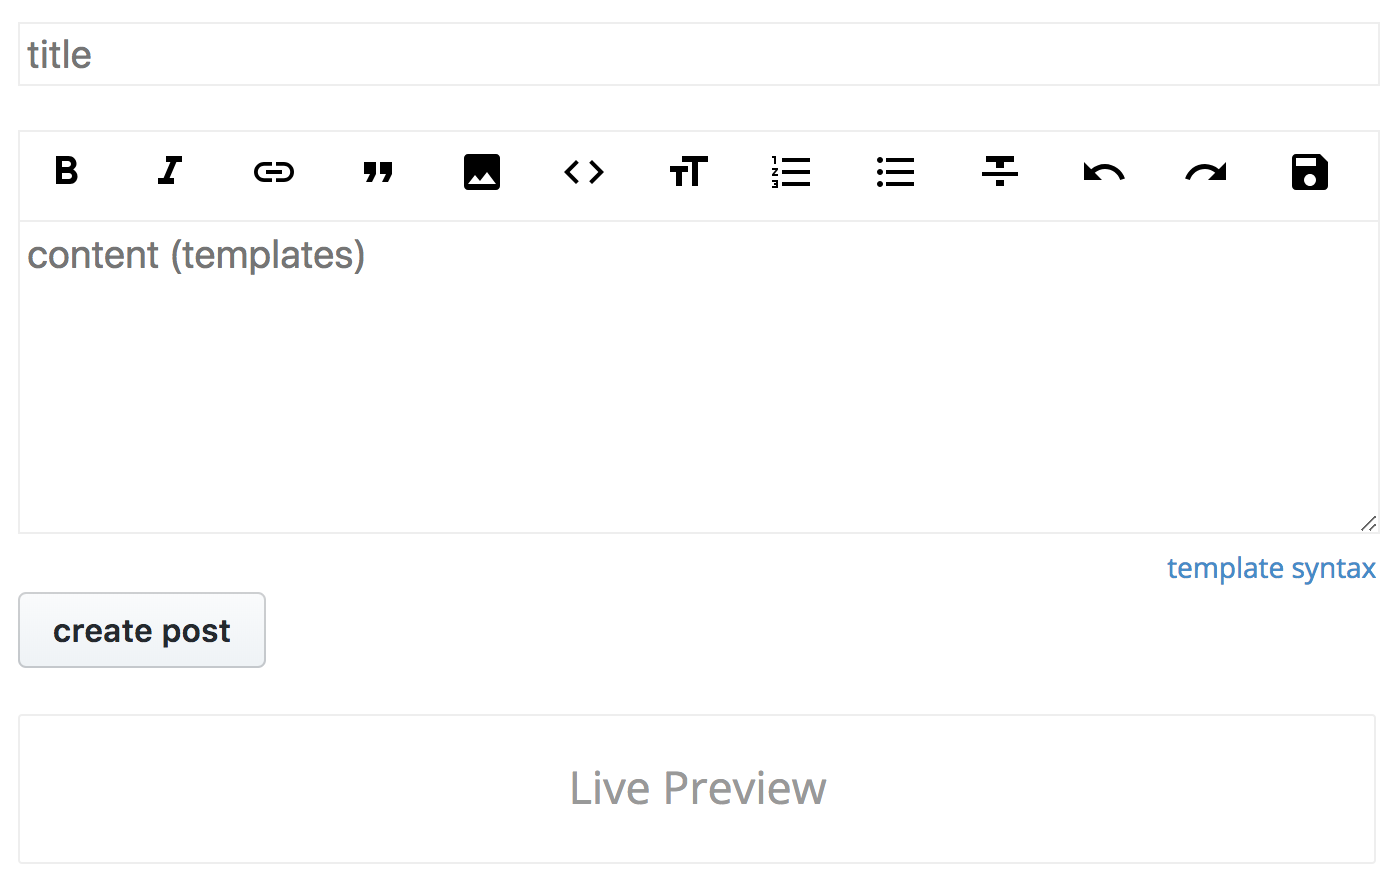
Rich Markdown Editor
To make it easy to recall Markdown features, each Content is equipped with a Rich Text editor containing the most popular formatting controls along with common short-cuts for each feature, discoverable by hovering over each button:
The Editor also adopts popular behavior in IDEs where Tab and SHIFT+Tab can be used to indent blocks of text and lines can be commented with
Ctrl+/ or blocks with CTRL+SHIFT+/.
Another nice productivity win is being able to CTRL+CLICK on any Content you created to navigate to its Edit page.
Auto saved drafts
The content in each Text input and textarea is saved to localStorage on each key-press so you can freely reload pages and navigate
around the site where all unpublished content will be preserved upon return.
When you want to revert back to the original published content you can clear the text boxes and reload the page which will load content from
the database instead of localStorage.
Server Validation
The new.html and edit.html pages shows examples of performing server validation with #Script:
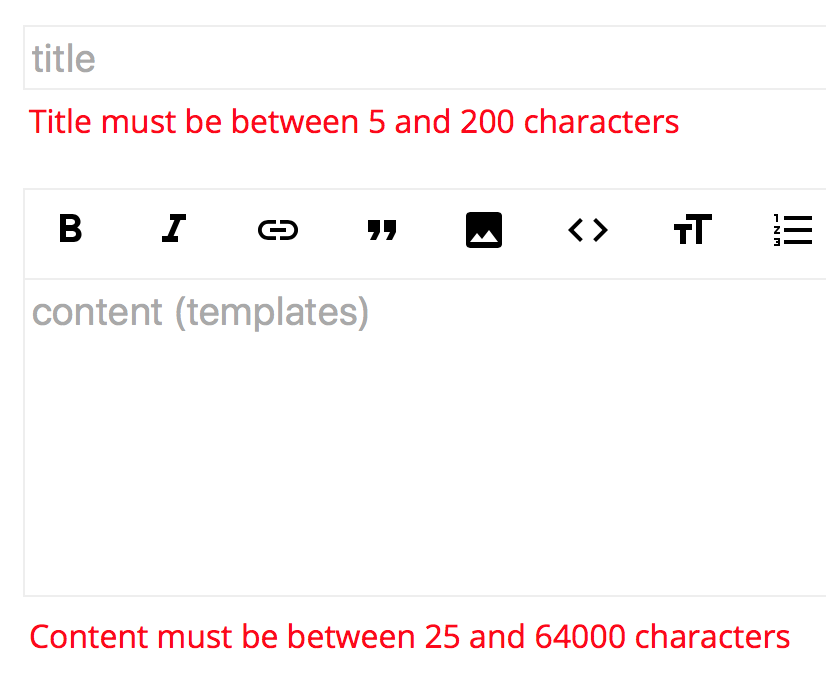
For more info see the docs on Error Handling.
Live Previews
Creating and Posting content benefit from Live Previews where its rendered output can be visualized in real-time before it's published.
Any textarea can easily be enhanced to enable Live Preview by including the data-livepreview attribute with the element where the output
should be rendered in, e.g:
<textarea data-livepreview=".preview"></textarea>
<div class="preview"></div>
The implementation of which is surprisingly simple where the JavaScript snippet in default.js below is used to send its content on each change:
// Enable Live Preview of new Content
textAreas = document.querySelectorAll("textarea[data-livepreview]");
for (let i = 0; i < textAreas.length; i++) {
  textAreas[i].addEventListener("input", livepreview, false);
  livepreview({ target: textAreas[i] });
}

function livepreview(e) {
  let el = e.target;
  let sel = el.getAttribute("data-livepreview");

  if (el.value.trim() == "") {
    document.querySelector(sel).innerHTML = "<div>Live Preview</div>";
    return;
  }

  let formData = new FormData();
  formData.append("content", el.value);

  fetch("/preview", {
    method: "post",
    body: formData
  }).then(function(r) { return r.text(); })
    .then(function(r) { document.querySelector(sel).innerHTML = r; });
}
To the /preview.html API Page which just renders and captures any Template Content its sent and returns the output:
By default the evalTemplate filter renders Templates in a new ScriptContext which can be customized to utilize any additional
plugins, filters and blocks available in the configured SharpPagesFeature,
or for full access you can use {use:{context:true}} to evaluate any Template content under the same context that evalTemplate is run on.
Customizable Auth Providers
Authentication can now be configured using plain text config in your app.settings where initially you need register the AuthFeature plugin as normal by specifying it in the features list:
features AuthFeatureThen using AuthFeature.AuthProviders you can specify which Auth Providers you want to have registered, e.g:
AuthFeature.AuthProviders TwitterAuthProvider, GithubAuthProviderEach Auth Provider checks the Sharp Apps app.settings for its Auth Provider specific configuration it needs, e.g. to configure both Twitter and GitHub Auth Providers you would populate it with your OAuth Apps details:
oauth.RedirectUrl http://127.0.0.1:5000/
oauth.CallbackUrl http://127.0.0.1:5000/auth/{0}

oauth.twitter.ConsumerKey {Twitter App Consumer Key}
oauth.twitter.ConsumerSecret {Twitter App Consumer Secret Key}

oauth.github.ClientId {GitHub Client Id}
oauth.github.ClientSecret {GitHub Client Secret}
oauth.github.Scopes {GitHub Auth Scopes}
Customizable Markdown Providers
By default Sharp Apps now utilize Markdig implementation to render its Markdown. You can also switch it back to the built-in Markdown provider that ServiceStack uses with:
markdownProvider MarkdownDeepRich Config Arguments
Any app.settings configs that are prefixed with args. are made available to #Script Pages and any arguments starting with a { or [ are automatically converted into a JS object:
args.blog { name:'blog.web-app.io', href:'/' }
args.tags ['technology','marketing']
Where they can be referenced as an object or an array directly:
{{#each tags}} {{it}} {{/each}}
<a href="{{blog.href}}">{{blog.name}}</a>
The alternative approach is to give each argument value a different name:
args.blogName blog.web-app.io
args.blogHref /